Skip Links

How To Replace A Trailer Fender

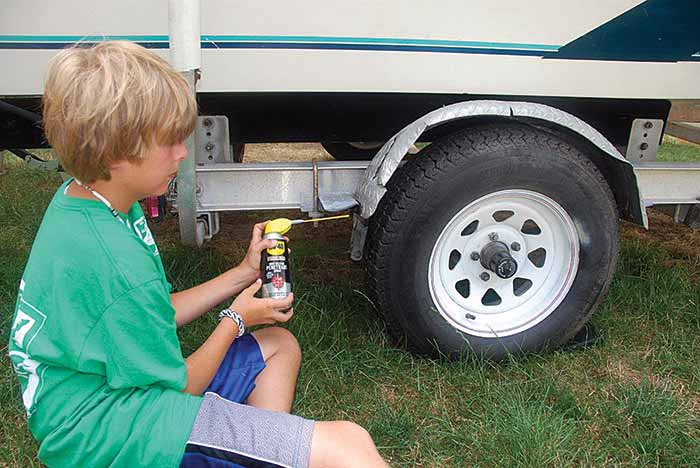
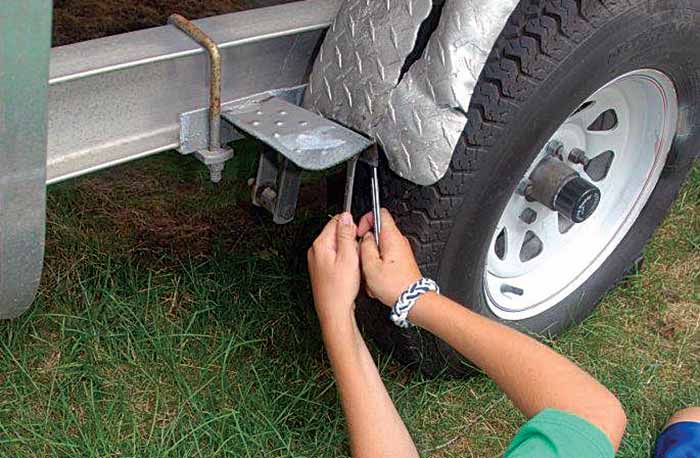
It's easy to do yourself, as long as you have about an hour, and a clever 12-year-old to help!


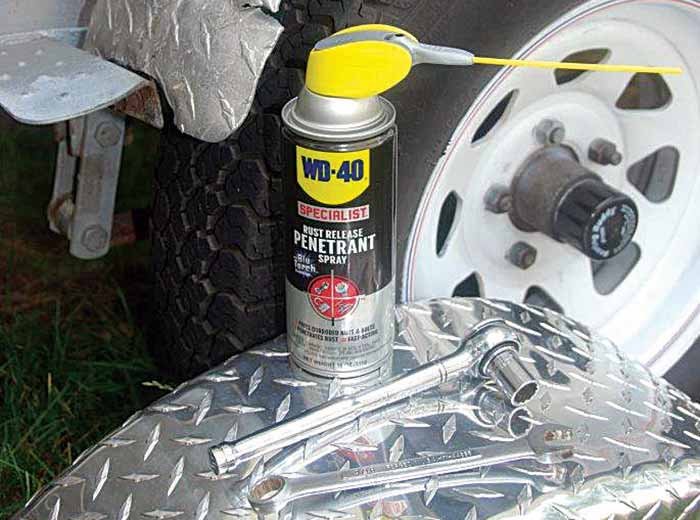
A dramatic tire blowout at highway speed had literally "blown out" the aluminum fender on the trailer under the boat we'd just purchased. We bought the rig for a good price partially because of the damage, for which the seller had received estimates of up to $200 to repair. I knew it was a doable DIY job and got to it shortly after the boat and trailer found their new home in my yard.

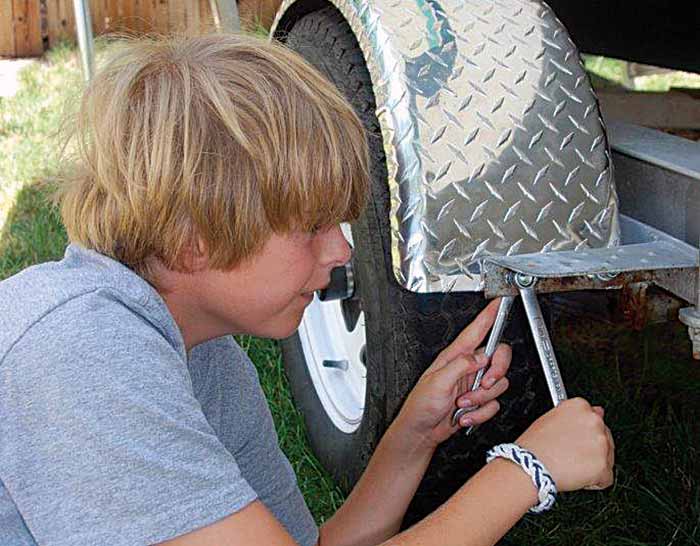
Most major trailer manufacturers offer replacement fenders, and I was able to secure an aluminum, diamond-plate-pattern boat trailer fender from Continental Trailers. Several sources also offer generic replacement fenders for a variety of boat-trailer applications, which can be ordered online or found at local trailer supply stores and at some big-box retailers. When I received the replacement fender from Continental, I was surprised at how light it was, that it wasn't pre-drilled with holes to secure it to the trailer frames, as well as how "bendable" the aluminum fender was without the support of the trailer frame brackets to help stiffen it. With the assistance of my 12-year-old son, we had the old fender off and the new one on within an hour. Here's how we did it:

Fender replacement tools

1. The tools required for the job include wrenches for the nuts and bolts that secure the fender to the frame, a drill with a bit matching the bolts, penetrant to loosen the old hardware, and a spring clamp if you don't have a helping hand to temporarily hold the fender in place.
Applying a penetrating spray to loosen old nuts and bolts

2. Apply penetrating spray to loosen old nuts and bolts if needed.
Removing damaged fender

3. Using the wrenches, remove the hardware securing the damaged fender to the brackets on the trailer frame. Keep the nuts, bolts, and washers to reuse if they are not damaged. If bolts are hopelessly frozen, you may be able to cut them with a grinding tool.
Using spring clamp to hold in fender in place

4. Use a spring clamp, or a helping hand, to hold the new fender in place to mark the locations of holes that will be drilled into the fender to secure it to the existing brackets.
Installing new fender

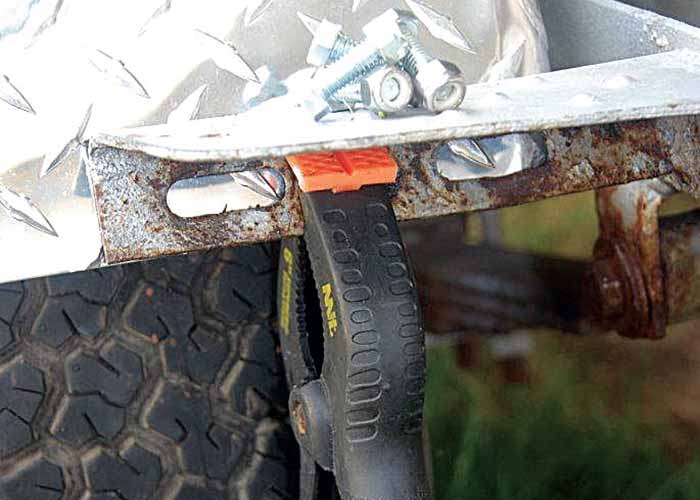
5. Most fender brackets, such as these on the Continental Trailer, offer slotted holes for the hardware to allow the fender's position to be adjusted closer or farther from the frame before being secured to the brackets.

Install the new fender using the old hardware or new, depending on condition.
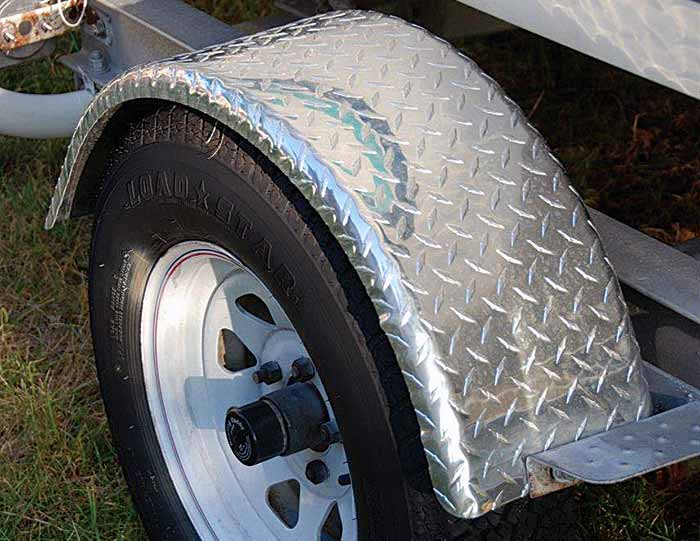
Drilling holes to mount new fender

6. Drill the holes for the mounting hardware in the new fender.
Final replaced fender

7. Finished!

Related Articles

Topics

Click to explore related articles

boats and tow vehicles trailers and trailering maintenance

Author

Dan Armitage

Contributing Editor, BoatUS Magazine

A full-time travel and outdoors writer based in Ohio, Dan is in his 20th season hosting the popular syndicated radio show Buckeye Sportsman. He gets around on a pontoon boat and an Aquasport center-console, which he uses for all his DIY editorial projects and fishing features. A USCG Captain (Master 50-ton), he’s a popular speaker at boat and sport shows.