Towing
BoatUS Members receive speedy, courteous service from TowBoatUS whether on-the-water or on-the-road. With 600 TowBoatUS towboats servicing over 300 ports, 24-hour dispatch ensures we're never more than a phone call away.
Learn More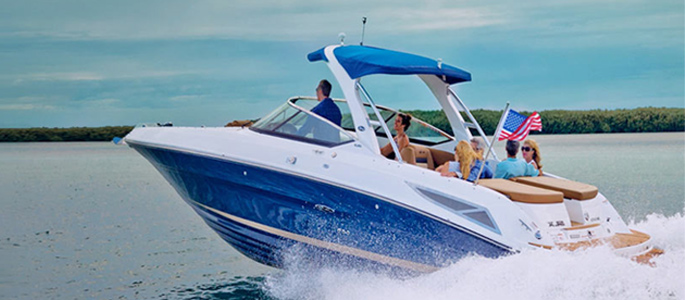
Boat Owners Association of The United States is the nation's largest recreational boating association. We help boaters get more out of boating…more freedom, more savings and more information. Our 25+ benefits and services help make boating better:
Join today and experience the peace of mind, savings, and resources that come with being part of the nation's largest recreational boating association.
This video outlines the many benefits of BoatUS Membership, including exclusive discounts at marinas on fuel and repairs, free MMSI registration, a subscription to award-winning BoatUS Magazine, 24/7 on-water towing assistance, and much more. You’ll quickly learn why BoatUS Membership is the best value – and peace of mind – for your money.
See All VideosBoatUS Members enjoy savings across the nation and online on boating equipment and services.
1,200+ Boating Businesses
30+ National Savings Partners
West Advantage Gold Rewards
Year-long discounts help your Membership pay for itself! View Local Discounts
Towing
BoatUS Members receive speedy, courteous service from TowBoatUS whether on-the-water or on-the-road. With 600 TowBoatUS towboats servicing over 300 ports, 24-hour dispatch ensures we're never more than a phone call away.
Learn MoreAdvocacy
Since 1966, our mission has been to fight unfair taxes, fees, and regulations that single out boat owners and to work with state agencies to promote boating laws that make sense.
Learn MoreMember Savings
With discounts on fuel, transient slips and repairs to steals on sunset charter cruises and more, your savings will really add up!
Learn MoreBoat Graphics & Lettering
For over 30 years, BoatUS Boat Graphics has delivered outstanding service in supplying boaters with custom graphics and lettering. Our experts ensure that unique designs are delivered to you quickly.
Learn MoreBoats for Sale
BoatUS Boats for Sale is a marketplace for Members to buy and sell new or used boats. BoatUS Members can list for free (a $19.95 value)
Learn MoreBoat Loans
Let us help you finance your next boat. Our marine lenders are able to offer competitive rates and terms to help you purchase a new boat or refinance your existing boat loan.
Learn MoreBoatUS App
Get BoatUS right at your fingertips. The fastest way to get a tow, our app combines the features that every boater wants and needs before hitting the water. Download it for free from the App Store for iPhone or iPad, or Google Play.
Learn MoreBoat Insurance
Low-cost policies, available for most all boat types, are serviced by dedicated boat insurance experts committed to exceptional policy service, and expert claims handling that gets you back to boating as quickly as possible.
Learn MoreMMSI Registration
Maritime Mobile Service Identity (MMSI) is a unique 9-digit number that is assigned to a (Digital Selective Calling) DSC radio or an AIS unit. MMSI numbers are free for BoatUS Members or $25 for non-Members.
Learn MoreStorm Tracking
View the Hurricane Tracking and Resource Center where you can track current storms, access tips on how to prepare your boat for impending storms, and more.
Learn More
Members earn points for shopping at West Marine.

Members save on car rentals.

Members save on car rentals.

Members may save on auto insurance.
The BoatUS Magazine print edition is available
exclusively to BoatUS Members—join today!
Regional boating news
Boat reviews
Step-by-step repair projects
Boat handling tips
Fishing advice
& more!
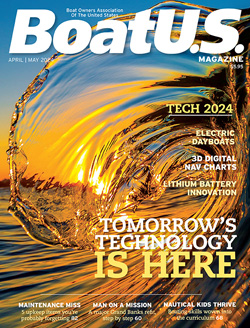
April | May 2024
What's New On the e-Outboard Market | How To Give An Awesome Safety Brief | 3 Lurking Digital Disasters | and more!